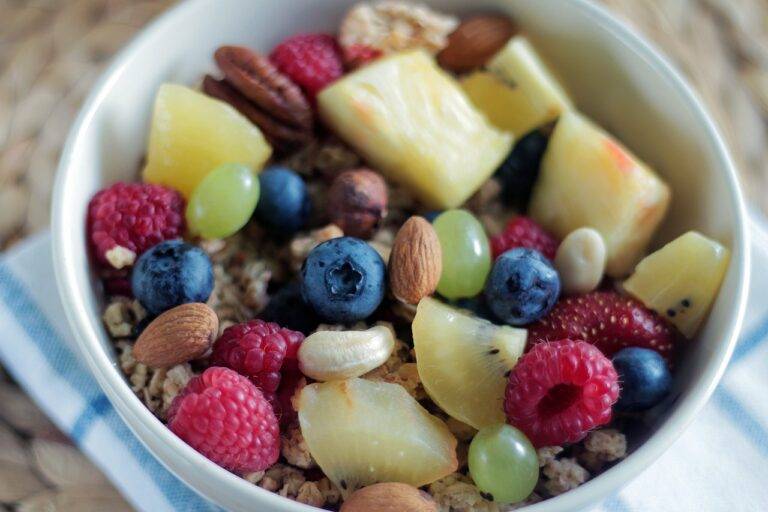
The Art of Food Photography: Techniques for Capturing Culinary Creations
When beginning your journey into the world of food photography, there are a few important factors to consider. Firstly, think about the style and presentation you want to convey through your photos. Will it be minimalist and clean, or more colorful and vibrant? Understanding the aesthetic you aim to achieve will help guide your creative process and ensure consistency across your images.
Secondly, take note of the equipment you have at your disposal. While a high-end camera and professional lighting setup can undoubtedly enhance your photographs, it is important to remember that great shots can also be captured using a smartphone or natural light. Consider your budget and resources when deciding on the tools you will use for your food photography endeavors.
Lighting Tips for Perfect Food Photos
When it comes to capturing mouth-watering food photos, achieving the perfect lighting is essential. The right lighting can enhance the colors of your dish, create a welcoming ambiance, and make the food look its absolute best. Before you start snapping away, consider the direction and intensity of the light source. Natural light is often the best option as it brings out the natural colors and textures of the food. Position your food near a window or in a well-lit area to make the most of the natural light available.
Another key aspect to consider is the use of diffusers or reflectors to control the harshness of the light. Diffusers soften the light, creating a more pleasing and flattering effect on the food. Reflectors, on the other hand, bounce light back onto the dish, reducing shadows and adding dimension to the photo. Experiment with different combinations of diffusers and reflectors to find the perfect balance for your food photos. Remember, a well-lit dish can make all the difference in showcasing the beauty and deliciousness of your culinary creations.
Why is lighting important for food photography?
Lighting is crucial in food photography because it can make or break the appearance of the dish. Proper lighting can enhance the colors, textures, and details of the food, making it look more appetizing and appealing.
What are some common mistakes to avoid when it comes to lighting for food photography?
Some common mistakes to avoid include using harsh overhead lighting, not diffusing natural light, using too many artificial lights, and forgetting to consider the direction of the light.
How can I achieve even lighting for my food photos?
To achieve even lighting, you can use diffusers to soften harsh light, place your food near a window for natural light, or use bounce cards or reflectors to fill in shadows.
Do I need to invest in expensive lighting equipment for good food photos?
While professional lighting equipment can certainly help, you can still achieve great results with natural light or simple DIY lighting setups using household items like white foam boards or aluminum foil.
What are some tips for using artificial lighting for food photography?
When using artificial lighting, consider the color temperature of the light, use diffusers to soften the light, and experiment with different angles and intensities to find the best lighting setup for your specific dish.

